Welcome to Tiny Green Elephants Plants, where our passion for greenery meets your desire for a vibrant, thriving home. Founded in 2020, we are a small team of plant enthusiasts dedicated to making the joys of plant parenthood and premier gift hampers accessible to everyone. Our journey began with a simple idea: to share the magic of plants and the countless benefits they bring to our lives.
We offer a carefully curated selection of indoor plants that cater to all levels of plant enthusiasts, from beginners to seasoned green thumbs. Each plant is handpicked for its beauty, resilience, and ease of care.
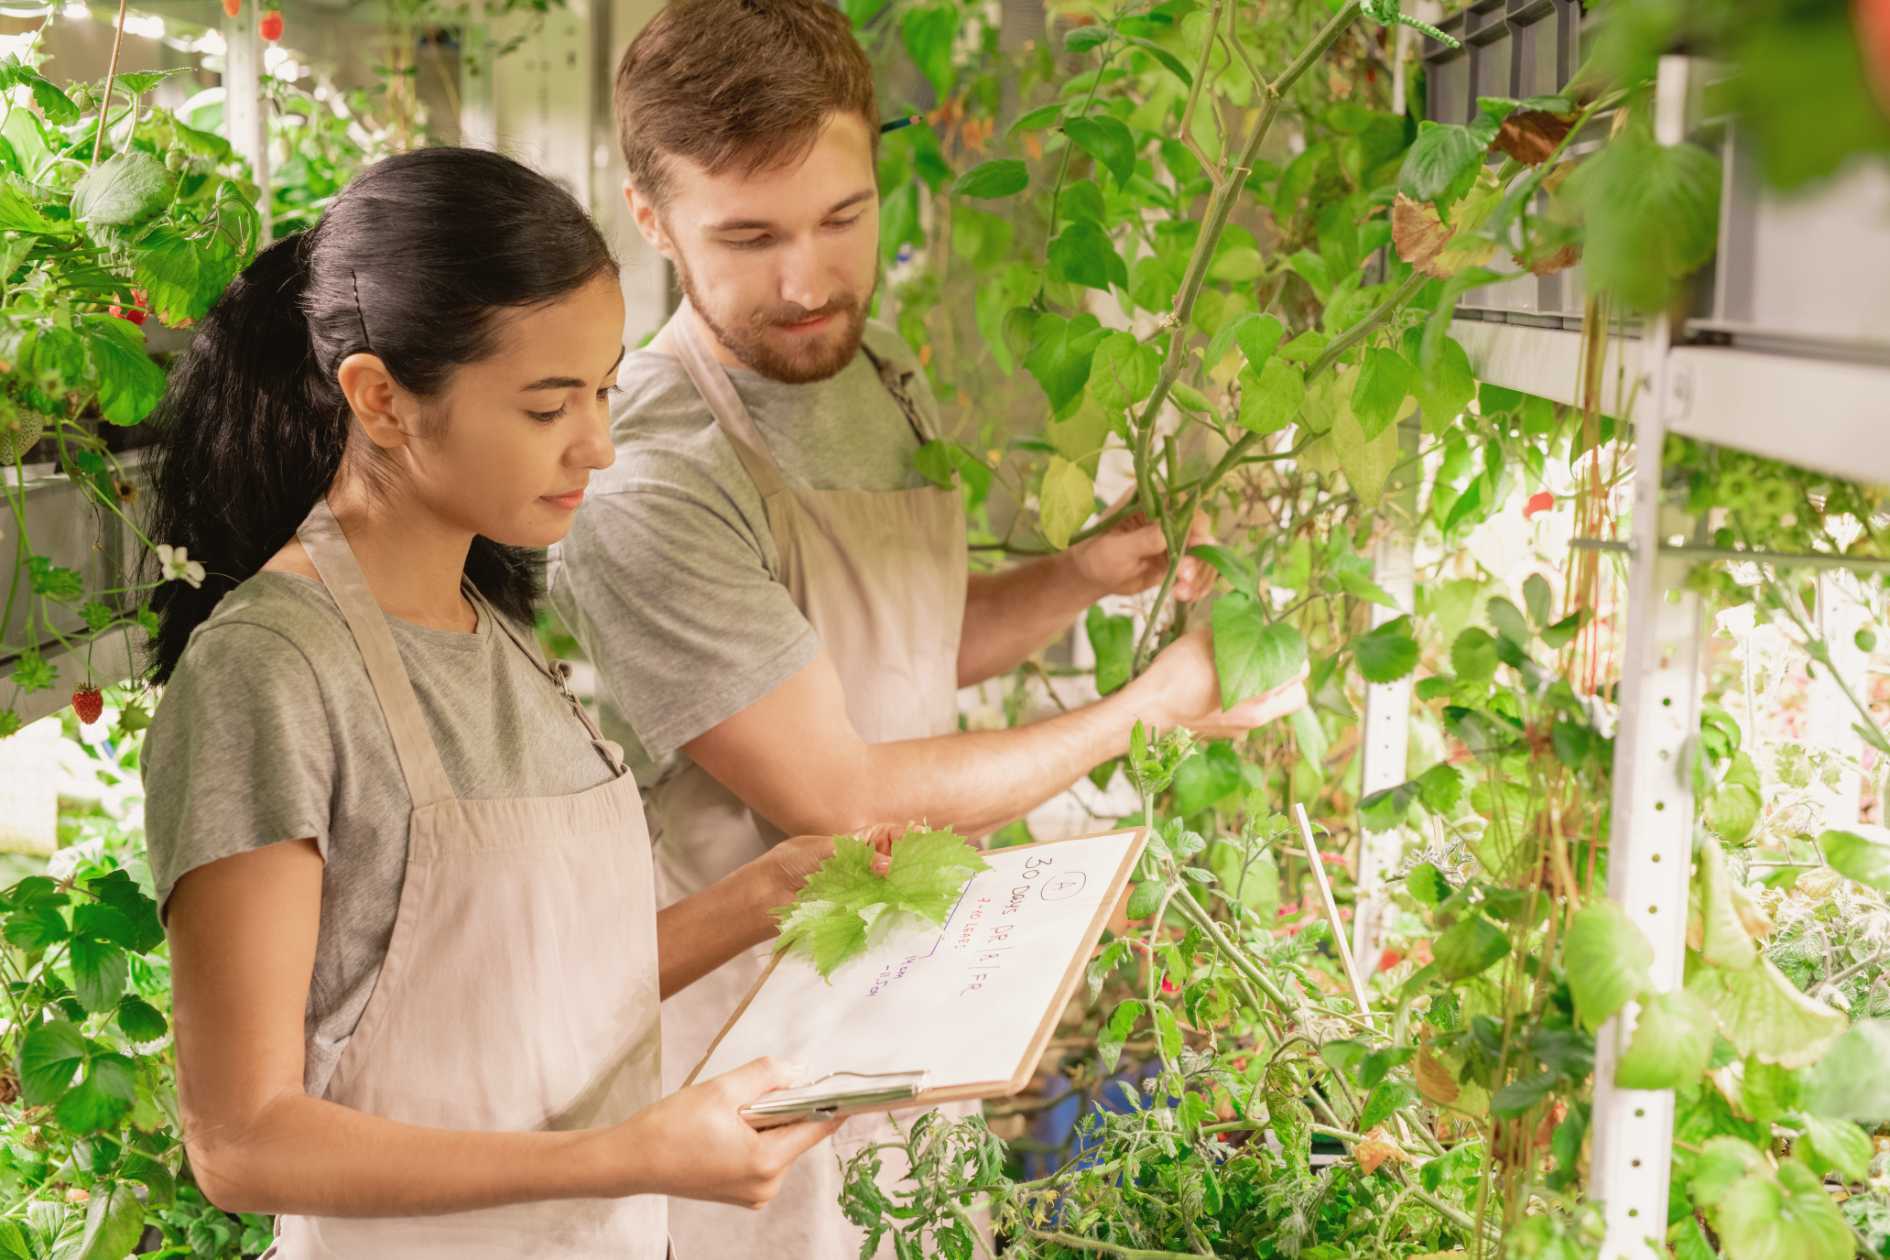
Personalized Plant Consultations
Need help choosing the right plants for your space? Our virtual plant consultations connect you with our plant experts who can provide personalized recommendations based on your lighting, space, and lifestyle.
Plant Care and Maintenance
Access our comprehensive plant care guides online, featuring detailed instructions on watering, lighting, fertilizing, and more. Our guides are designed to help you keep your plants healthy and vibrant.
Workshops and Events
Join our interactive workshops to learn about various aspects of plant care. From beginner basics to advanced techniques, our workshops are designed to empower you with the knowledge to grow your plant collection confidently.
Eco-Friendly Products
Explore our range of eco-friendly planters and accessories. We prioritize sustainable materials and practices, ensuring that our products are kind to the planet.
Corporate Services
Enhance your workspace with our corporate plant services. We provide plant selection, installation, maintenance and hamper and gifts Australia tailored to your office environment, helping to improve air quality, boost productivity, and create a more inviting atmosphere.
Why Choose Us
Quality and Care
Every plant in our collection is handpicked by our experts for its beauty, resilience, and ease of care. We ensure that each plant is healthy and ready to thrive in your home or office.
Personalized Support
Whether you’re a novice or a seasoned plant parent, our team of plant experts is here to help. From selecting the right plants to offering personalized care tips, we provide the support you need to grow a thriving green space.
Community and Connection
Join a passionate community of plant lovers. Share your plant journey, get inspired by others, and connect with fellow enthusiasts through our social media channels and community events.
"Tiny Green Elephants Plants transformed my living room into a green oasis! The virtual consultation was incredibly helpful, and the plants arrived healthy and beautifully packed. I can't recommend them enough!"
Shirley Parker
"As a first-time plant parent, I was nervous about keeping my new plants alive. The detailed care guides and friendly support from Tiny Green Elephants Plants have been lifesavers. My plants are thriving, and so am I!"
")